Overview
The mobile app is a companion application for iOS and Android that gives church members on-the-go access to key platform features from their phone. It connects to the same REST API that powers the web platform — no separate server or database required.
Family Check-In
Check in your children from your phone — skip the lobby kiosk line.
Give
One-time or recurring donations via Stripe and PayPal. Plus Zelle, Venmo, Cash App, and bank ACH.
Small Groups
Browse groups with photos, schedules, leaders, and member counts.
Sermons
Watch sermon videos with an inline YouTube player and infinite scroll.
Navigation
The app uses a bottom tab bar that adapts based on whether you are signed in:
| Tab | Signed Out | Signed In |
|---|---|---|
| Home | Church info, sermon link | + Small Groups link, your name in header |
| Give | — | Donate, giving history |
| Check In | — | Family check-in |
| Media | Sermon videos | Sermon videos |
| Login | Sign in screen | — |
Home Screen
The Home screen is the app’s landing page, showing your church’s branding and key information.
Header
Displays the church logo (loaded from the branding API) alongside the church name. If the logo image contains the church name, only “Management Platform” is shown as text to avoid duplication. When signed in, your first name and a Sign Out button appear in the header.
Hero Banner
A navy gradient banner with a “Welcome Home” greeting and the next service time (e.g., “Sunday Service 10:30 AM”). Sets a warm, inviting tone when opening the app.
Church Info Card
Shows your church’s tagline with an expandable Read More section. When expanded, displays:
- Physical address with a location icon
- Service schedule with times for each day
- A Visit Our Website button linking to the church website
Quick-Access Cards
- Watch Sermons — tapping this card navigates to the Media tab
- Small Groups — only visible when signed in; navigates to the Small Groups browser
Login Prompt
When not signed in, a prompt appears: “Sign in to access Small Groups, Giving, Check-In, and more.” Tapping navigates to the Login tab.
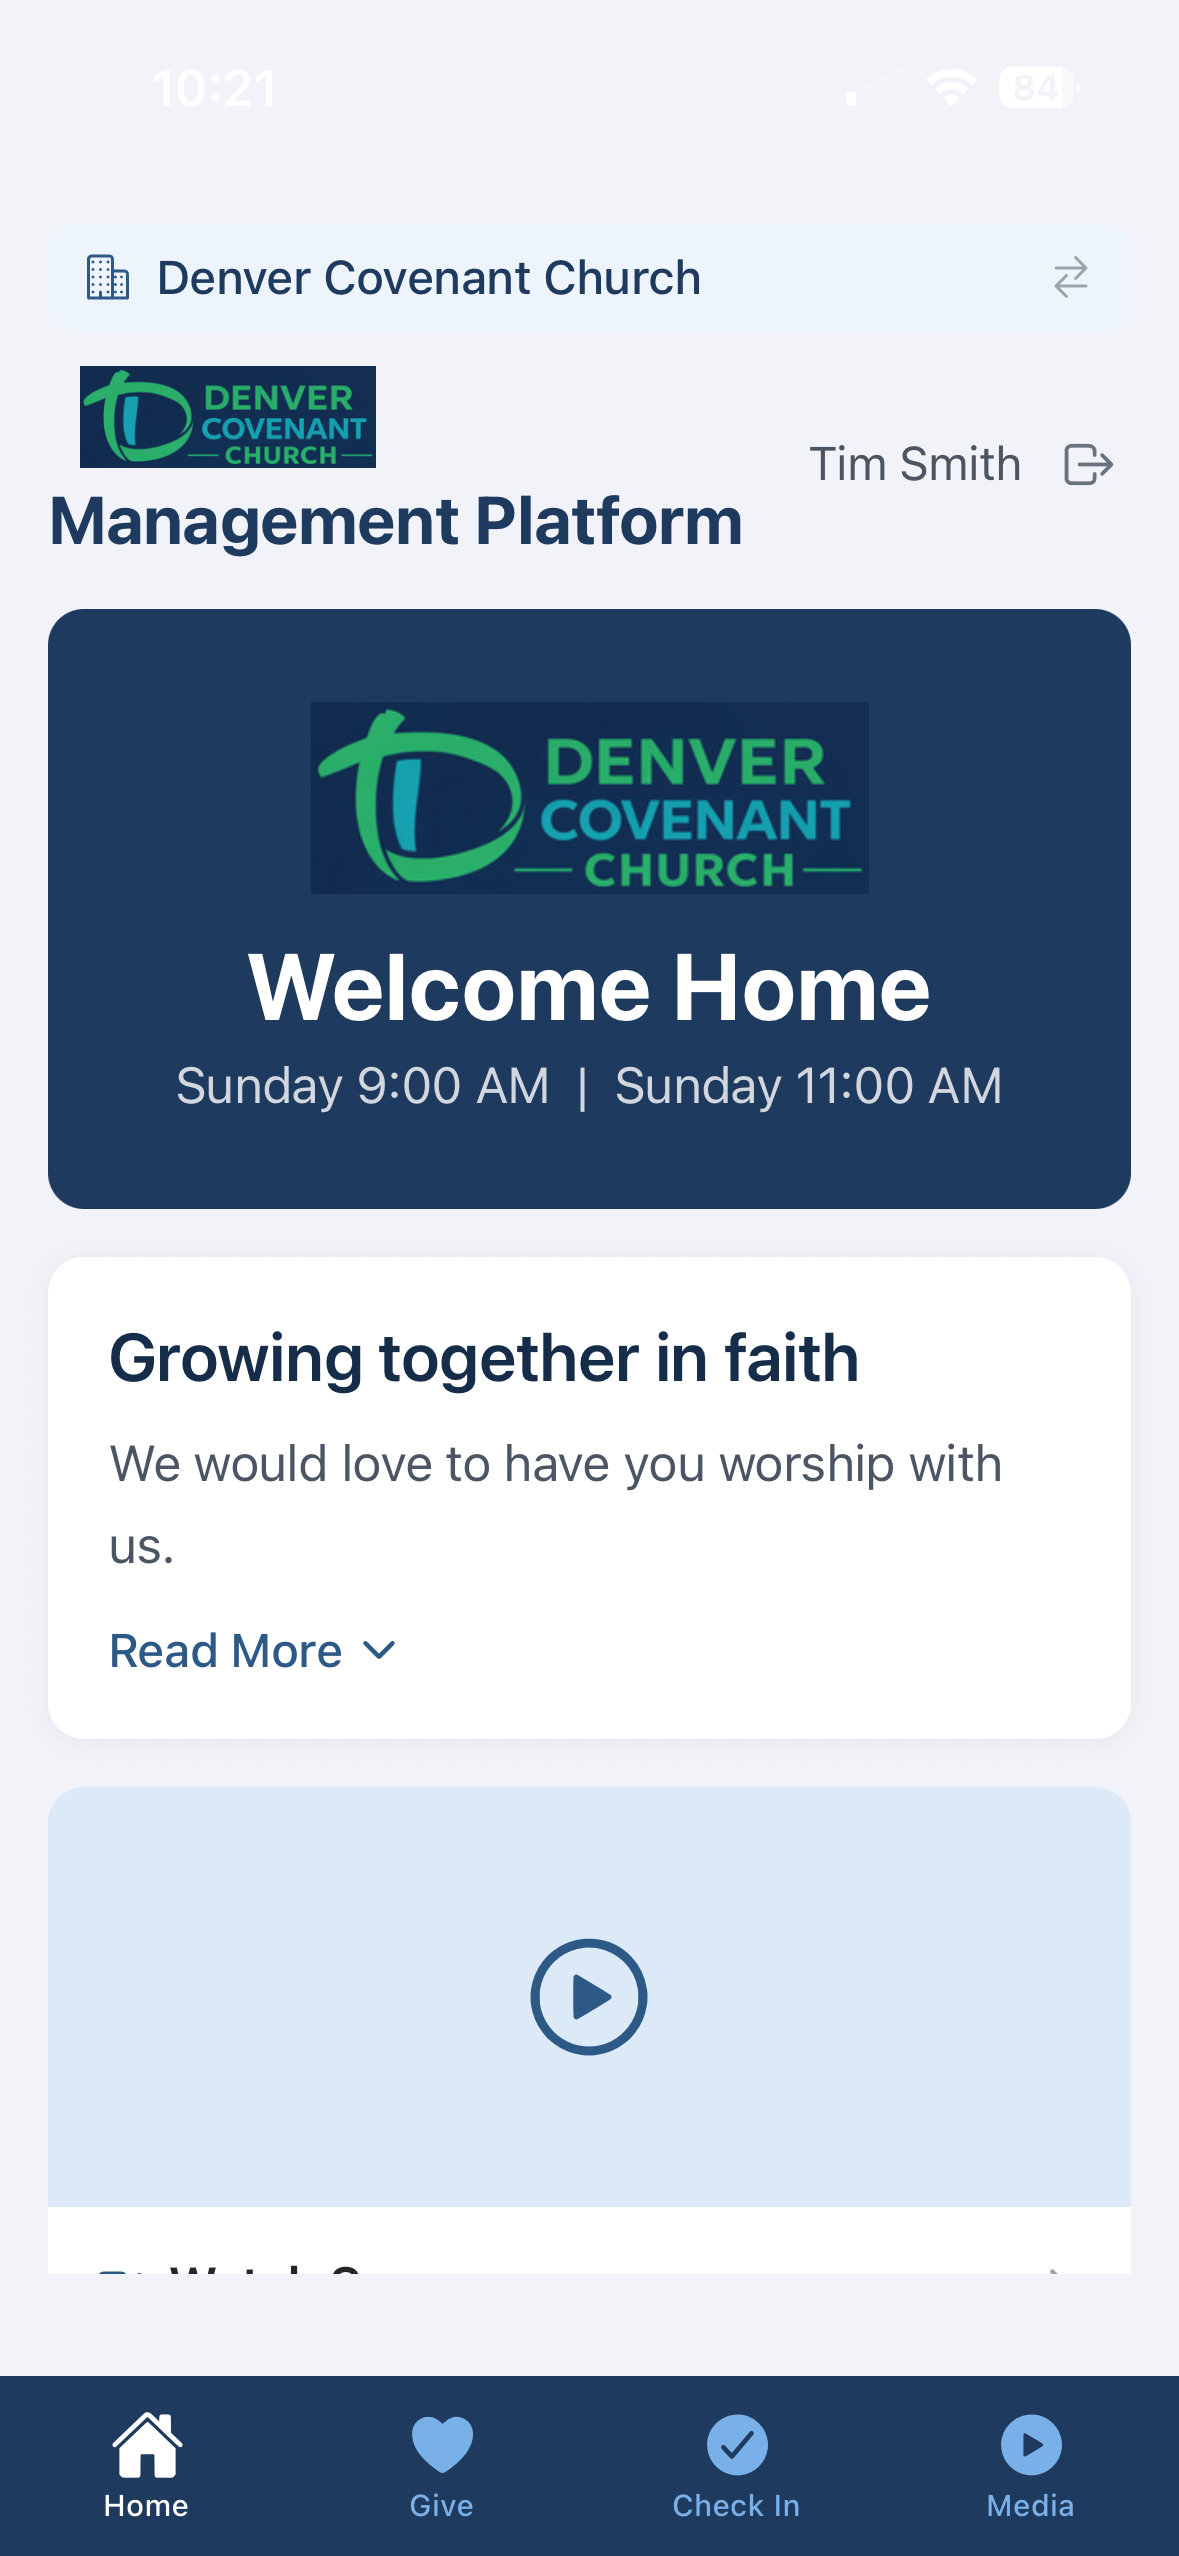
Home Screen — hero banner, church info card, and quick-access cards
Sign In
The Login screen supports multiple authentication methods, including biometric unlock for returning users.
Email & Password
Enter your email and password to sign in. The email field auto-fills with your last used email address for convenience. Both fields have platform-appropriate autofill hints so your device’s password manager can offer saved credentials.
Google Sign-In
Sign in with your Google account using the Sign in with Google button. This option uses the same Google OAuth integration as the web platform. If you sign in with Google for the first time, an account is automatically created.
Biometric Authentication
After your first successful sign-in, the app offers to enable Face ID (iOS) or Fingerprint (Android) for future logins. When enabled:
- The app automatically prompts for biometric verification when you open it
- On successful verification, you are signed in instantly — no typing required
- A Sign in with Face ID (or Fingerprint) button also appears on the Login screen
- If your password is changed on the web, saved biometric credentials are automatically cleared and you will need to sign in with your password once more
Remember Email
Your last used email address is saved securely on-device and pre-filled the next time you open the Login screen. This applies to both email/password and biometric sign-in flows.
| Method | Availability | Notes |
|---|---|---|
| Email & Password | Always | Same credentials as the web platform |
| Google Sign-In | Development builds | Requires native Google module; hidden in Expo Go |
| Biometric (Face ID / Fingerprint) | After first login | Device must support biometrics |
Small Groups
Browse your church’s small groups from the Home screen. Tap the Small Groups card to open the group browser.
Group Cards
Each group is displayed as a card with:
- Group photo — full-width image at the top of the card, or a placeholder icon if no photo is set
- Name & type badge — the group name in bold with a light blue badge showing the group type (e.g., Life Group, Prayer Group)
- Description — a two-line preview of the group’s description
- Schedule — meeting day, time, and frequency (e.g., “Monday · 7:00 PM · Weekly”)
- Area — geographic area or campus name
- Leaders — comma-separated list of group leader names
- Member count — a navy pill showing the number of members
- Childcare — a green pill indicating childcare is available (only shown when applicable)
Pull down on the list to refresh. Only public, active groups are shown — informational entries (like “Questions” or “Start a Small Group”) are automatically filtered out.

Check-In
The Check-In tab lets parents check in their children directly from their phone — the same check-in process as the lobby kiosk, but from wherever you are.
How It Works
- Tap the Check In tab in the bottom navigation bar.
- The app loads your family members and finds available events for each person based on their group membership.
- Review each family member’s card. Select which events to check them into using the checkboxes next to each event.
- Use quick-select buttons (e.g., “8:30 AM — All”) to select all members for a time slot at once.
- Tap Check In N People at the bottom of the screen.
- View the confirmation screen with security codes for each person.
Member Cards
Each family member appears as a card showing:
- Initials avatar — a navy circle with the person’s initials
- Name and group — full name with their assigned group (e.g., “Elementary - 5th Grade”)
- Allergy warnings — highlighted in orange if the person has any allergies on file
- Available events — checkboxes for each event they are eligible for, showing the event name, time, and group
Already Checked In
If a family member was already checked in (for example, at the lobby kiosk), their card shows a green badge with the event name and their security code. They cannot be checked in again for that event.
Check-In Result
After a successful check-in, the result screen shows:
- A large shared security code displayed prominently at the top
- Per-person results — each person’s event, time, group, and individual security code
- Allergy banners — orange warning banners for any checked-in person with allergies, with a reminder to inform the room leader
- If any check-ins failed, error cards appear with the reason
Tap Done to return to the Check-In screen.
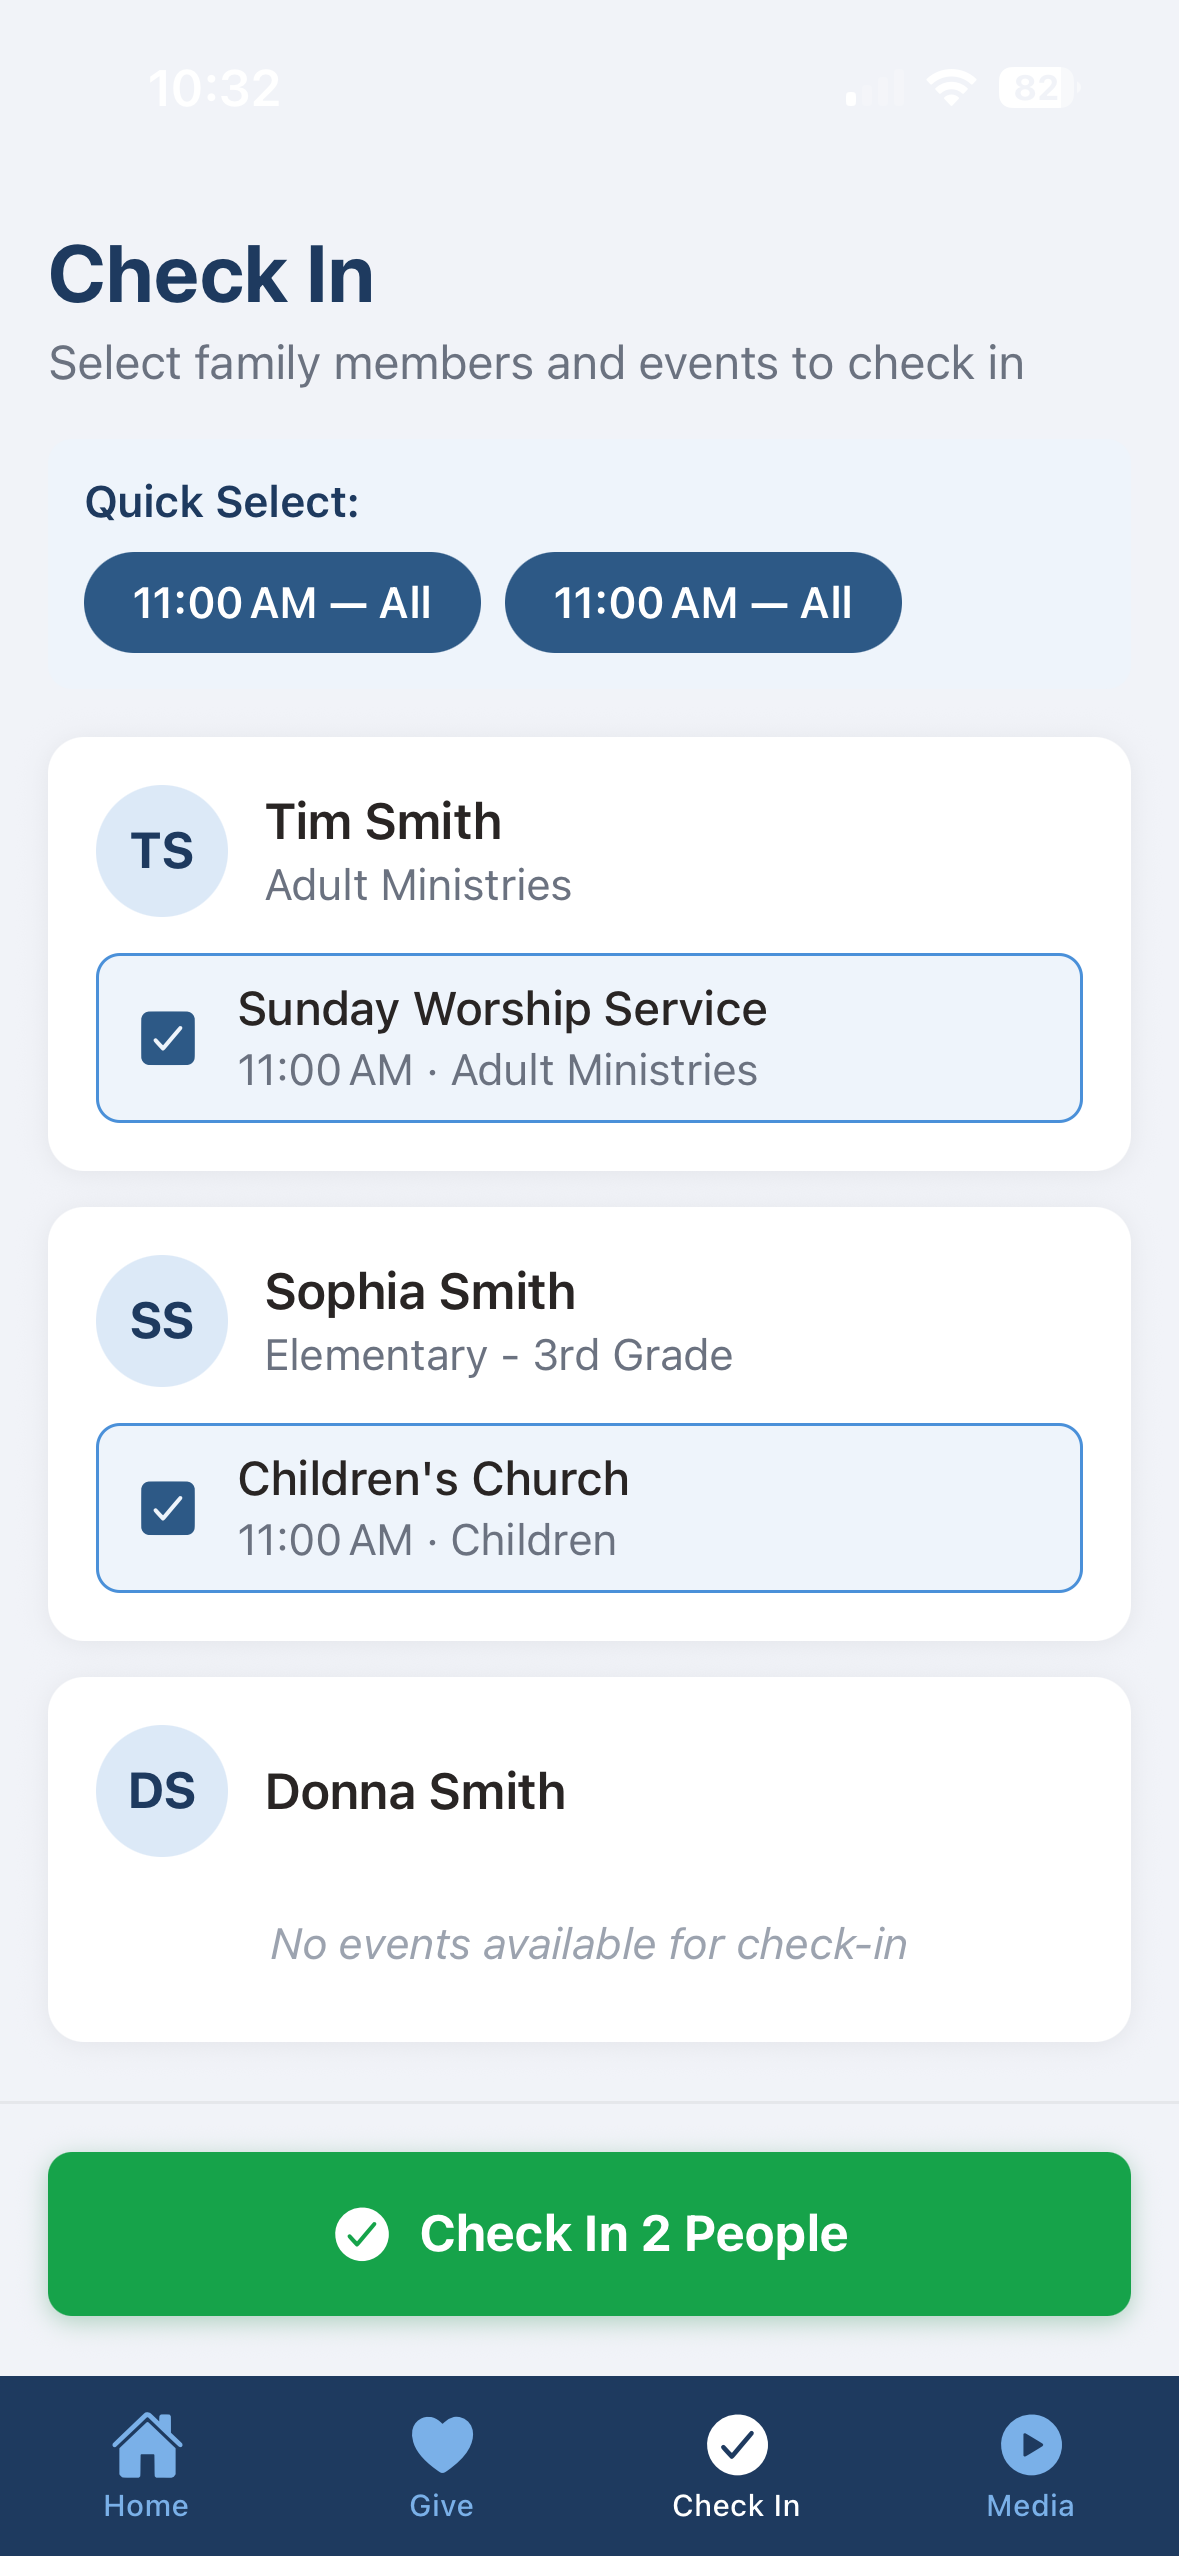
Check-In — family member cards with group assignments and event availability
Check-In Windows
Events appear for check-in based on the same timing rules as the lobby kiosk: the check-in window opens 5 hours before the first event of the day for a group, or 30 minutes before subsequent same-group events. The window closes 30 minutes before the event ends.
Give
The Give tab lets you make one-time or recurring donations directly from your phone. Select a fund, enter an amount, choose one-time or recurring, and complete payment through Stripe or PayPal — or use an alternative giving method like Zelle, Venmo, or Cash App.
Making a One-Time Donation
- Tap the Give tab in the bottom navigation bar.
- Select a fund using the chip buttons (e.g., General Fund, Missions, Building Fund). The default fund is pre-selected.
- Enter an amount by typing or tapping a quick-amount button ($25, $50, $100, $250, $500).
- Ensure One-time is selected in the toggle (default).
- Optionally toggle Give anonymously to hide your name from donation reports.
- Choose a payment method: Card / Wallet (Stripe — card, Apple Pay, Google Pay), Bank Transfer (Stripe ACH), or PayPal.
- Complete payment and view the confirmation screen.
Setting Up a Recurring Gift
- Tap the Give tab and select a fund and amount.
- Tap Recurring in the One-time / Recurring toggle.
- Choose a frequency: Weekly, Bi-weekly, Monthly, Quarterly, or Annually.
- Complete payment via Stripe (PayPal is not available for recurring gifts).
- Your subscription is now active. Future charges happen automatically and appear in your giving history.
Other Ways to Give
Below the PayPal button, a collapsible Other Ways to Give section shows alternative giving methods configured by your church. Each method includes a Copy button for easy clipboard access:
- Zelle — email address to send a Zelle transfer
- Venmo — Venmo handle (@username)
- Cash App — Cash App tag ($username)
- Bank ACH / Bill Pay — bank name, routing number, and account number for direct transfers
Only methods that have been configured appear — if your church hasn’t set up Venmo, for example, it simply won’t be shown.
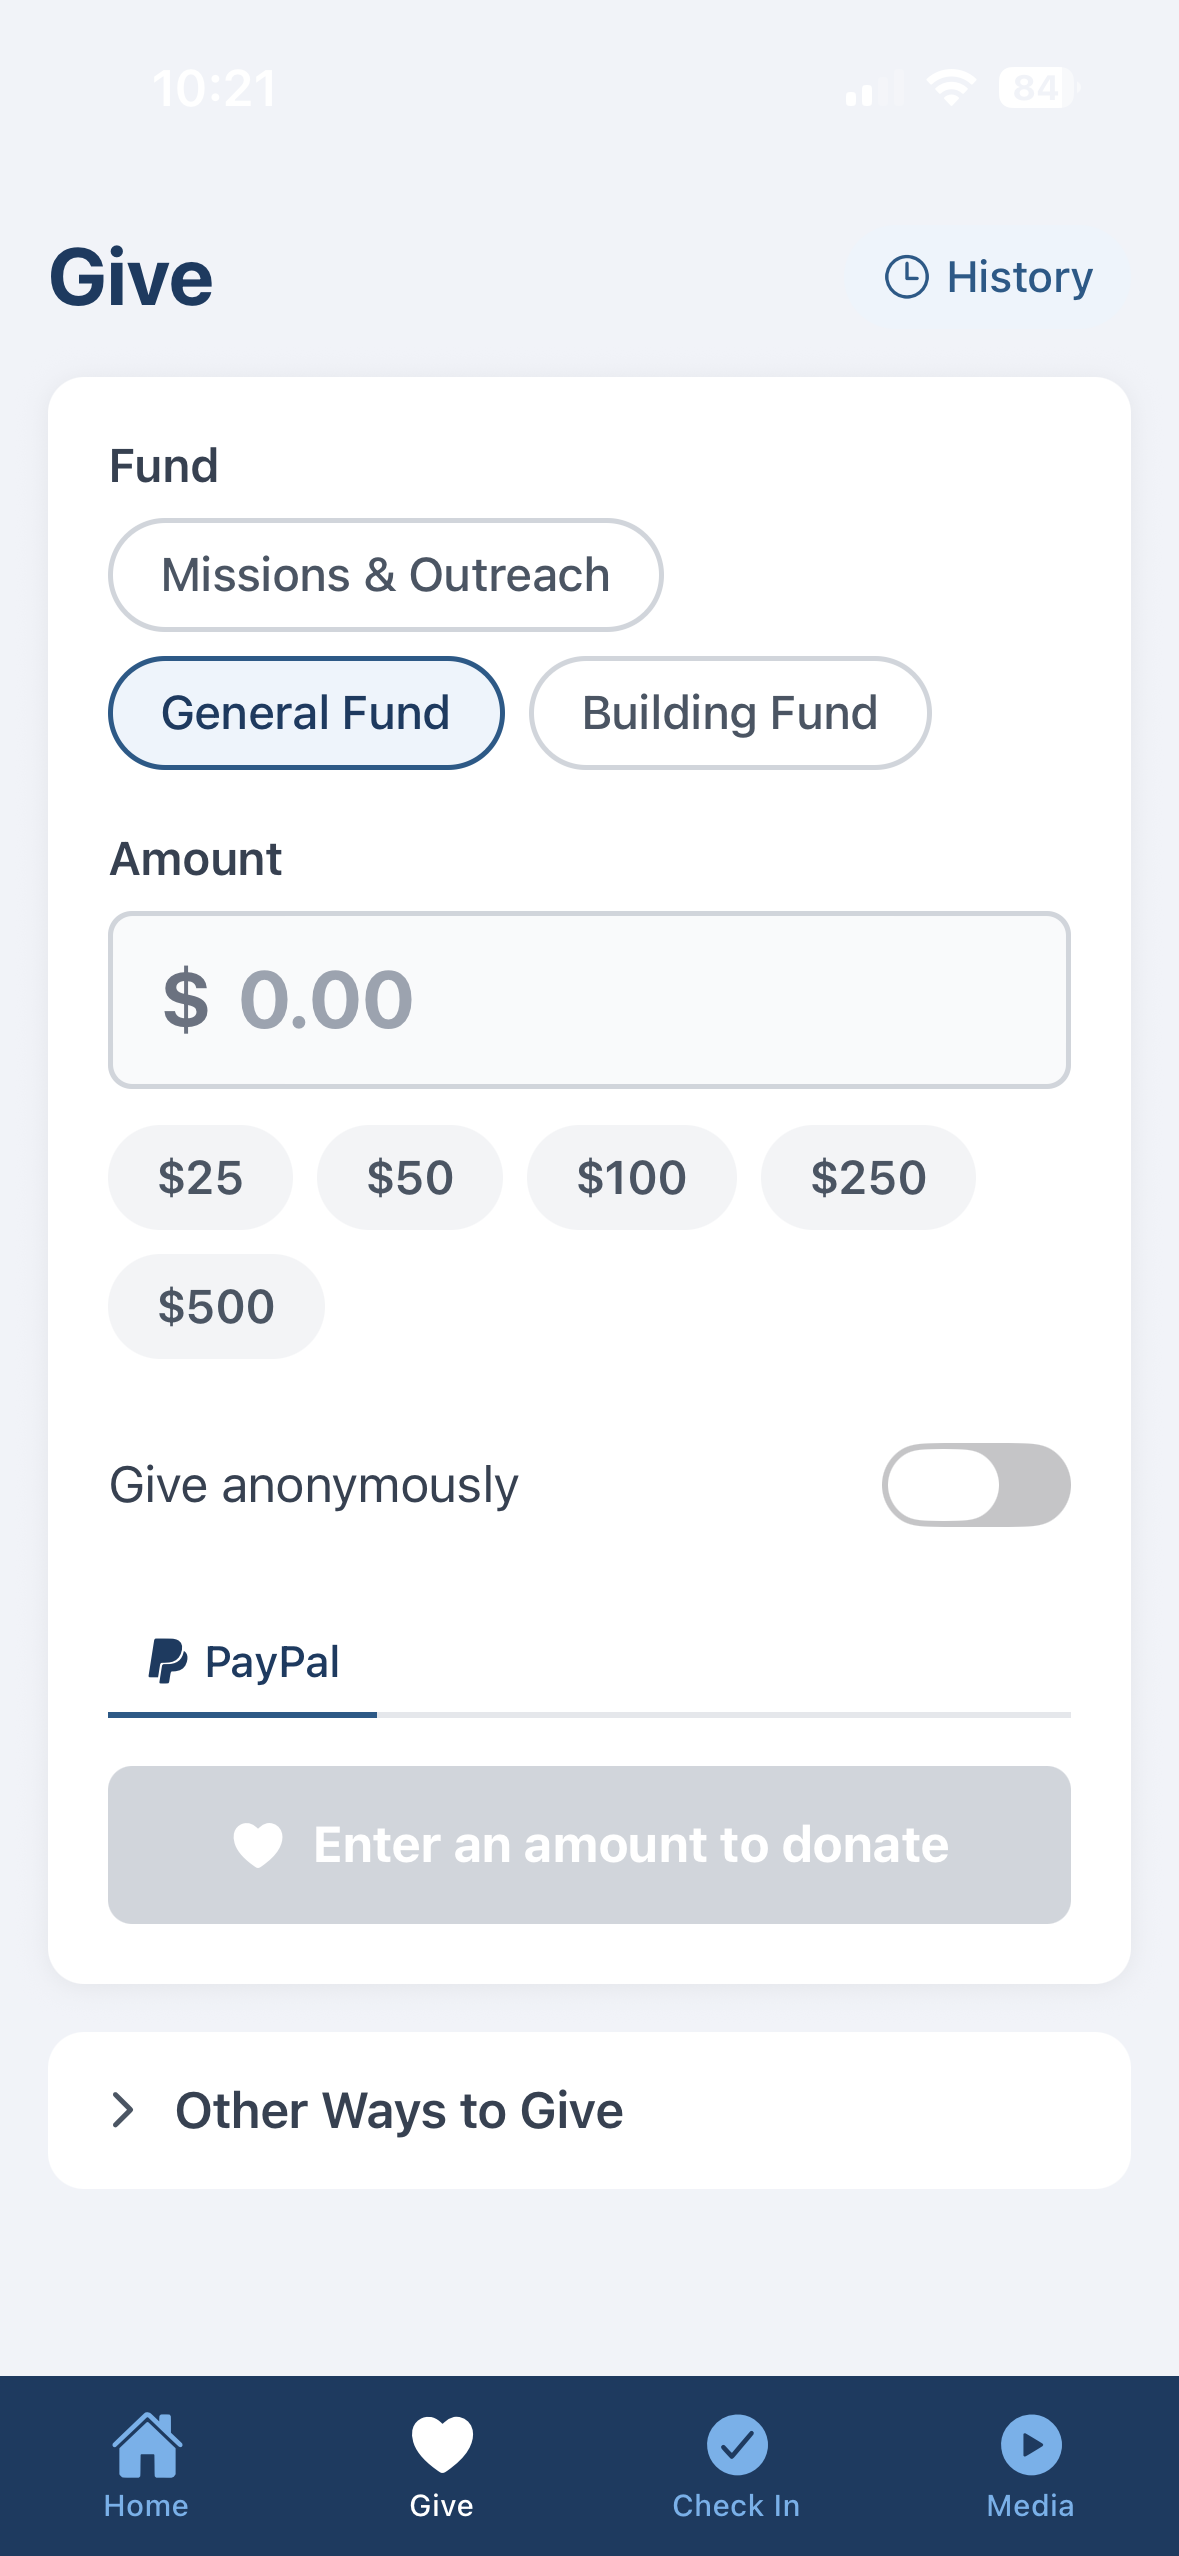
Give — fund selection, amount input with quick buttons, and PayPal donate
After Donating
The confirmation screen shows a checkmark with “Thank You!” and the details of your gift. From here you can:
- Give Again — start a new donation
- View Giving History — see all your past donations
Giving History
View your donation history by tapping History in the top-right corner of the Give screen, or View Giving History after making a donation.
Year Filter
A horizontal row of year chips lets you filter donations by year. The current year is selected by default, with the previous four years available.
Summary Card
A navy summary card at the top shows the total amount and number of donations for the selected year. Only completed donations are counted toward the total.
Recurring Gifts
Above the one-time donation list, a Recurring Gifts section shows all your recurring subscriptions. Each card displays the amount, frequency, fund, and status badge (Active, Past Due, Cancelled, or Incomplete), plus start and next payment dates. Tap Cancel on any active subscription to stop future charges (with confirmation prompt).
Donation List
Each donation row shows:
- Payment method icon — a colored circle with an icon (Stripe card, ACH, Apple Pay, Google Pay, PayPal, check, cash, Zelle)
- Fund name — which fund the donation went to
- Date — formatted as month, day, year
- Status — a colored dot (green = completed, amber = pending, red = failed)
- Amount — the donation amount in bold
Pull down to refresh the list.
Sermons / Media
The Media tab provides a sermon video browser powered by your church’s YouTube channel. This tab is available to all users — no sign-in required.
Video List
Sermons appear as cards showing a thumbnail image with a play overlay, the video title, and the publish date. Scroll down to load more videos automatically (infinite scroll).
Inline Player
Tap a video card to expand it and watch the sermon directly in the app. The YouTube player opens inline (no redirect to the YouTube app) and begins playing automatically. Only one video can be expanded at a time — tapping another video collapses the current one.
Refresh
Pull down on the video list to refresh and load the latest sermons from YouTube.
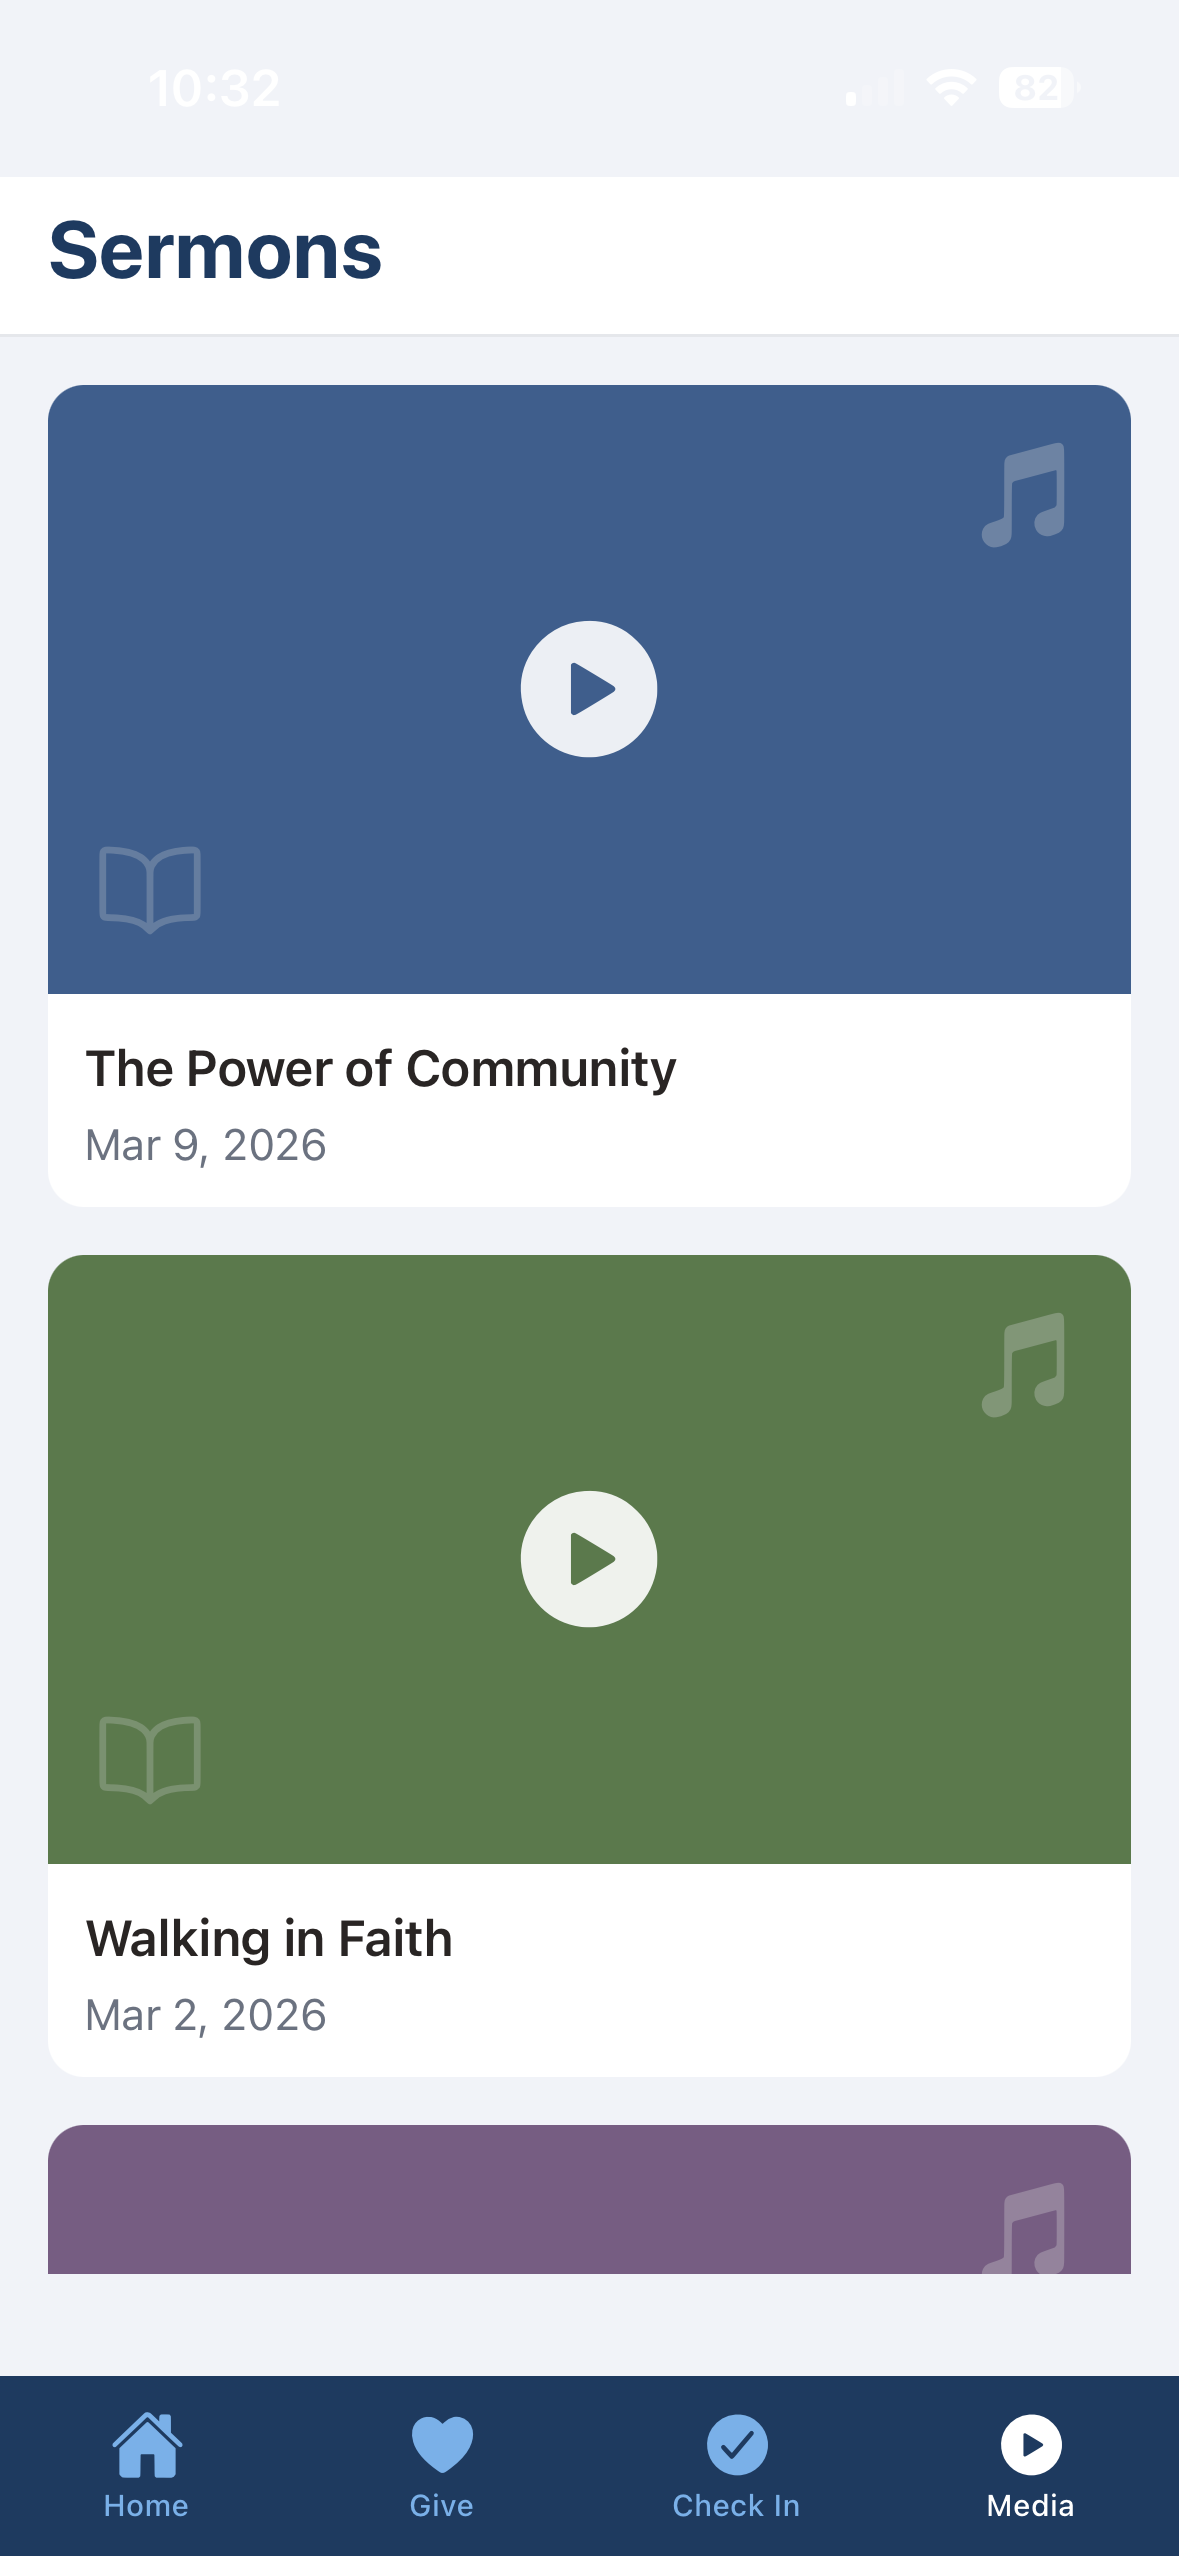
Media — sermon video cards with thumbnails, titles, and dates
Configuration Admin
The mobile app is configured through environment variables and the platform’s existing branding and giving settings. No app code changes are needed when onboarding a new church.
App Environment Variables
These settings are defined in app.config.ts and control which backend and
services the app connects to:
| Setting | Description | Example |
|---|---|---|
API_URL |
Backend API base URL | https://checkin.example.com |
GOOGLE_WEB_CLIENT_ID |
Google OAuth client ID for Google Sign-In | 553631...apps.googleusercontent.com |
YOUTUBE_API_KEY |
YouTube Data API v3 key for the Media tab | AIzaSy... |
YOUTUBE_CHANNEL_ID |
YouTube channel ID for sermon video playlist | UC... |
Branding
The Home screen fetches GET /api/branding on launch to load the church logo,
name, tagline, address, service times, and website. This is the same branding API used by
the web platform. See the
Church Branding & Customization section
in the Technology Overview for full configuration details.
Giving Configuration
The Give screen fetches GET /api/giving/config to determine which alternative
giving methods to display (Zelle, Venmo, CashApp, bank ACH). These are configured in the
Giving section of appsettings.json. PayPal credentials are in the
PayPal section. See the
Giving & Donations documentation for details.
YouTube / Media
To enable the sermon video browser, set YOUTUBE_API_KEY and
YOUTUBE_CHANNEL_ID in the app configuration. The app automatically discovers
the channel’s uploads playlist. If these values are not set, the Media tab shows a
friendly “Media Not Available” message.
Running the App
The mobile app is built with Expo (SDK 54). To run it locally:
- Navigate to the mobile app directory:
cd src/ChurchCheckIn.Mobile - Start the Expo development server:
npx expo start --tunnel - Scan the QR code with the Expo Go app on your phone